





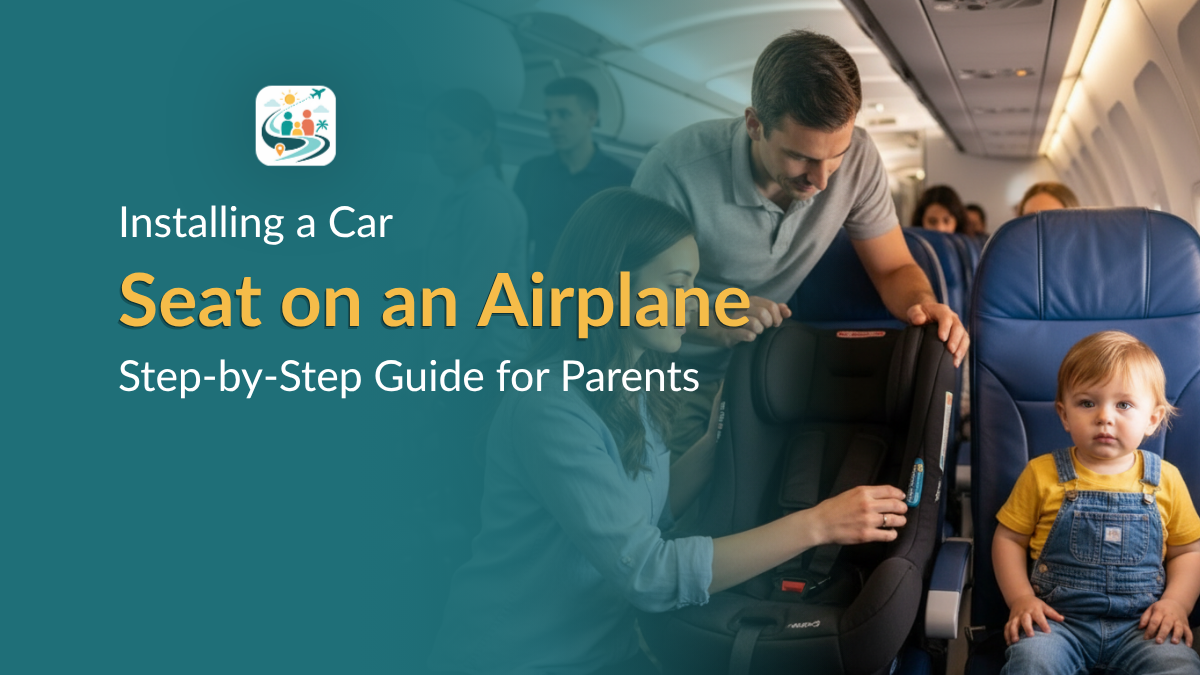
Flying with a baby or toddler feels overwhelming when you’re also carrying a car seat. Parents worry about whether the seat will fit, whether they’re installing it correctly, and whether a flight attendant will stop them mid-boarding. I’ve seen parents freeze in the aisle, trying to tighten a seat belt while holding a restless child and feeling rushed by the passengers waiting behind them.
Most of that stress comes from not knowing what to expect. When parents understand the rules and practice the installation before the trip, boarding goes faster and feels a lot less chaotic. This guide covers the FAA rules, the actual installation steps, and the details real parents run into at the gate. For the broader picture — choosing a seat, gate-checking, and alternatives — see our guide to car seats on airplanes.
Quick reference:
- Check for the FAA approval label before you fly
- Install the car seat in a window seat, not an aisle or exit row
- Airplanes use seat belts, not LATCH anchors
- The car seat should not move more than 1 inch in any direction when tested
- Booster seats are not allowed during flights
- Check your aircraft type before you travel — regional jets are narrower and car seats often don’t fit
- If a flight attendant challenges your installation, the relevant regulation is 14 CFR 121.311
- Practice the installation before your trip
Why a car seat is safer than a lap hold
The FAA’s turbulence injury data shows that unrestrained passengers — including lap-held children — account for a disproportionate share of turbulence-related injuries. A car seat secured with the airplane’s seat belt keeps a child restrained during sudden drops, which can hit several Gs of force without warning. A parent’s arms can’t hold against that.
One caveat on comfort: some children sleep better in their own car seat during a flight, and some don’t. It depends on the child and the trip. Don’t count on it as a reliable outcome. Our guide to helping a toddler sleep on a plane covers what actually improves the odds.
Check your aircraft type before you choose a seat
This is the step most guides skip entirely, and it’s where real installation failures happen.
Airplane seat widths vary by aircraft. On a Boeing 737 or Airbus A320 (the most common domestic narrowbodies), economy seats are typically 17–17.5 inches wide. On regional jets — CRJ-700, CRJ-900, Embraer E175 — they’re closer to 17 inches, and the armrests behave differently. A car seat that fits easily on a mainline flight may not fit at all on a regional jet.
Before you book:
- Check the aircraft type on the booking page or the airline’s flight detail view. Most carriers list it.
- Measure your car seat at its widest point, including any side-impact wings.
- Compare that measurement to the seat width for your specific aircraft. SeatGuru.com has aircraft-specific seat width data for most commercial fleets.
Car seats around 16 inches wide fit on most aircraft. Wider convertible seats (many run 19–20 inches) are fine on mainline aircraft but frequently don’t fit on regional jets. If your route uses a regional jet and your seat is wide, contact the airline before travel day — not at the gate.
Bulkhead seats are also worth checking. Some have fixed armrests that don’t lift, which makes installation impossible or very difficult. First class and premium economy seats are typically wider, but may have different armrest mechanics that create their own problems.
How to choose the right car seat for airplane travel
Look for the FAA approval label
Your car seat needs a label confirming it’s approved for aircraft use. It’s usually on the side or bottom of the seat. Without this label, a flight attendant can ask you to remove it.
One critical detail the label doesn’t cover: if your car seat has been in a car accident — even a minor one — manufacturers recommend replacing it. That recommendation applies whether you’re using it in a car or on a plane. A seat that looks fine externally may have compromised internal structure. Also check the expiration date printed on the seat; expired seats are considered unsafe by manufacturers and may be refused by airline staff.
Aftermarket additions — strap covers, padding inserts, cup holder attachments — may void the FAA approval if they weren’t included in the seat’s original certification. Remove them before flying.
Check seat width
Car seats around 16 inches wide fit on most aircraft. If your seat is wider, verify it against your specific aircraft type before travel day.
Infant vs. convertible: which one to bring
For age-specific guidance, see flying with a 1-year-old and flying with a 2-year-old.
The width row matters more than most parents realize. If you’re on a regional jet, an infant seat is usually a safer choice than a wide convertible.
Installing a car seat on an airplane
Airplanes don’t have LATCH anchors or tether systems. The airplane seat belt does all the work.
Step 1: Choose the correct seat
Place the car seat in a window seat. This keeps the aisle clear for other passengers and for emergency evacuation. Avoid exit rows — car seats are prohibited there. Avoid aisle seats.
Some bulkhead and premium seats restrict car seat use because of fixed armrests, tray table placement, or seat structure. Check with the gate agent or crew before boarding if you’re unsure about your seat assignment.
Step 2: Raise the armrests
Lift the armrests before installing. Some armrests don’t move — check as soon as you board. If neither armrest lifts, ask to be moved to a different row before everyone else has boarded.
Step 3: Position the car seat
Place the car seat flat against the airplane seat. Rear-facing seats are allowed if they fit and follow the manufacturer’s instructions.
Step 4: Route the seat belt through the belt path
Thread the airplane seat belt through the correct belt path following your car seat manual. Press down firmly on the car seat while you tighten the belt.
A note on extensions: some airline seat belts are too short to reach the belt path on a wide convertible seat. Some airlines allow seat belt extensions; others prohibit using them with child restraint systems. The prohibition varies by carrier and is separate from extensions used for adult passengers — flight crews sometimes conflate the two. Ask the crew specifically whether an extension can be used through a car seat belt path, not just whether extensions are available. If the answer is no and the belt won’t reach, you’ll need to ask to move seats.
Step 5: Test stability
Push the car seat firmly forward, backward, and side to side. It should move less than 1 inch in each direction. If it moves more, press down harder on the seat while re-tightening the belt.
Airplane car seat installation checklist
Before boarding:
- Confirm the FAA approval label is on the seat
- Verify your aircraft type and seat width compatibility
- Check your car seat for accident history and expiration date
- Remove any aftermarket additions (padding inserts, strap covers)
- Check the airline’s child seat and extension policies
- Practice the installation at home
- Reserve a window seat
During boarding:
- Board early — use preboarding if it’s available
- Raise the armrests
- Position the car seat correctly (window seat, not exit row or aisle)
- Route the seat belt through the correct belt path
- Tighten the belt with downward pressure on the seat
Before takeoff:
- Test seat movement in all directions (less than 1 inch)
- Check the child’s harness: pinch test at the collarbone, chest clip at armpit level
- Buckle your child in
- Check comfort and positioning
The child’s harness: a separate check from the seat installation
The airplane seat belt holds the car seat. The car seat harness holds your child. These are two different systems, and the harness check is often skipped.
Before takeoff, run through these quickly:
- Tightness: slide two fingers under the harness at the collarbone. You should feel slight resistance. If you can pinch slack webbing, it’s too loose.
- Chest clip position: it should sit at armpit level, not at the belly. A chest clip that’s ridden down doesn’t restrain the torso correctly.
- Clothing: thick jackets or snowsuits compress under harness load and leave real slack that the at-boarding snug feel doesn’t reveal. If your child is wearing a bulky coat, remove it before buckling, or at minimum re-check tightness after they’ve settled.
If your toddler can unbuckle their own harness, know before boarding whether your seat’s buckle is one they can operate. Some parents add a buckle guard; check that any guard is approved for aircraft use if it’s not part of the original seat certification.
What to do if a flight attendant challenges your installation
Flight attendants are trained to check several things: that the car seat has an aircraft approval label, that it’s in a window seat, that it’s not in an exit row, and that the installation looks secure. That’s the scope of their standard training.
The relevant FAA regulation is 14 CFR 121.311, which governs child restraint systems on commercial flights. Under this regulation:
- Rear-facing seats are permitted if they fit and follow manufacturer instructions
- FAA-approved seats with the correct label are legal to use
Parents have been incorrectly told at boarding that their rear-facing seat wasn’t allowed, or that their installation method was wrong, when both were compliant. If a crew member challenges something that’s within the rules, you can say: “This seat has the FAA aircraft approval label and is installed per the manufacturer’s instructions, which is what 14 CFR 121.311 requires.” Stay calm and specific.
If the crew member is a flight attendant and isn’t satisfied, ask to speak with the purser or lead flight attendant. If time allows, ask the gate agent to confirm before boarding.
There’s also a line worth knowing: a flight attendant expressing concern is different from a flight attendant issuing a binding safety instruction. A binding instruction from a crew member during boarding has legal weight. If you receive one and disagree with it, you can comply and file a complaint with the FAA and airline afterward — missing the flight is not a useful outcome.
One situation where complying without argument is always correct: if the seat belt genuinely won’t create a secure installation and the crew notices before you’ve resolved it. That’s a real safety issue, and the crew is right to flag it.
What to do if the seat won’t fit
If the car seat doesn’t fit the assigned seat:
- Ask to move to a different seat before the door closes. Gate agents can sometimes help if you ask during boarding, not after.
- If your convertible seat has a detachable base, install it without the base if the manual allows it.
- Ask the flight attendant for help. They’ve seen this before.
If none of that works and the seat can’t be safely installed, the car seat goes in the overhead bin or is gate-checked. Your child travels as a lap infant for that flight. It’s not ideal, but it’s the correct call over an unsafe installation.
Gate-checking: what happens and what to check when it comes back
Gate-checked car seats are not always handled carefully. They go into the cargo hold, sometimes without a bag, and come back at the jet bridge on the connecting flight. It’s worth doing a 60-second check before you install on the next leg:
- Look for cracks in the shell, especially along the sides and base
- Check that harness webbing isn’t twisted
- Confirm the belt path labels are still readable
- Make sure the buckle clicks and releases cleanly
Cosmetic scuffs are fine. Cracks in structural plastic, bent adjustment mechanisms, or a buckle that doesn’t click cleanly are reasons to contact the airline about a damage claim before the next flight.
To reduce handling damage: use a gate-check bag. A padded gate-check bag costs $20–40 and significantly reduces shell damage and webbing twisting. Photograph the seat before you hand it over so you have documentation of its pre-trip condition.
Common installation problems and solutions
When not to use a car seat on an airplane
Frequently asked questions
Yes. Rear-facing seats are allowed if they fit properly and follow the manufacturer’s instructions. 14 CFR 121.311 permits them. If a crew member tells you otherwise, you can cite the regulation and ask to speak with the purser.
Yes. Your child needs their own ticket to use a car seat on board. Book the adjacent window seat at the same time you book for the child — if you wait, it may not be available, which creates a gate-day problem.
No. Booster seats can’t be used during taxi, takeoff, or landing. If your child has outgrown a harnessed convertible seat but isn’t ready for a booster, a CARES harness (FAA-approved for children 22–44 lbs) is an alternative worth considering.
Ask to be moved to a different seat where the belt is long enough. If no seat is available, gate-check the car seat and your child travels as a lap infant. Don’t route the belt outside the manufacturer’s specified belt path to make it reach.
If your child is in the CARES harness weight range (22–44 lbs), that’s one option. If they’re above 44 lbs and not ready for a booster, check whether your convertible seat has a higher harness weight limit — many go to 65 lbs. Some forward-facing-only seats go higher still. A booster seat is not a legal alternative during flight.
Conclusion
The installation itself isn’t complicated once you’ve done it at home. What makes airport installations hard is speed, a restless child, and not knowing what to expect when something doesn’t fit. Building in buffer helps — see how early families should arrive at the airport.
Check your aircraft type before travel day. Bring the approval label. Know the belt path on your specific seat. Do a quick harness check before takeoff, not just a seat stability check. And if a flight attendant challenges something that’s within the rules, you have the regulation and the label to back you up.
That covers most of what can go wrong.


