





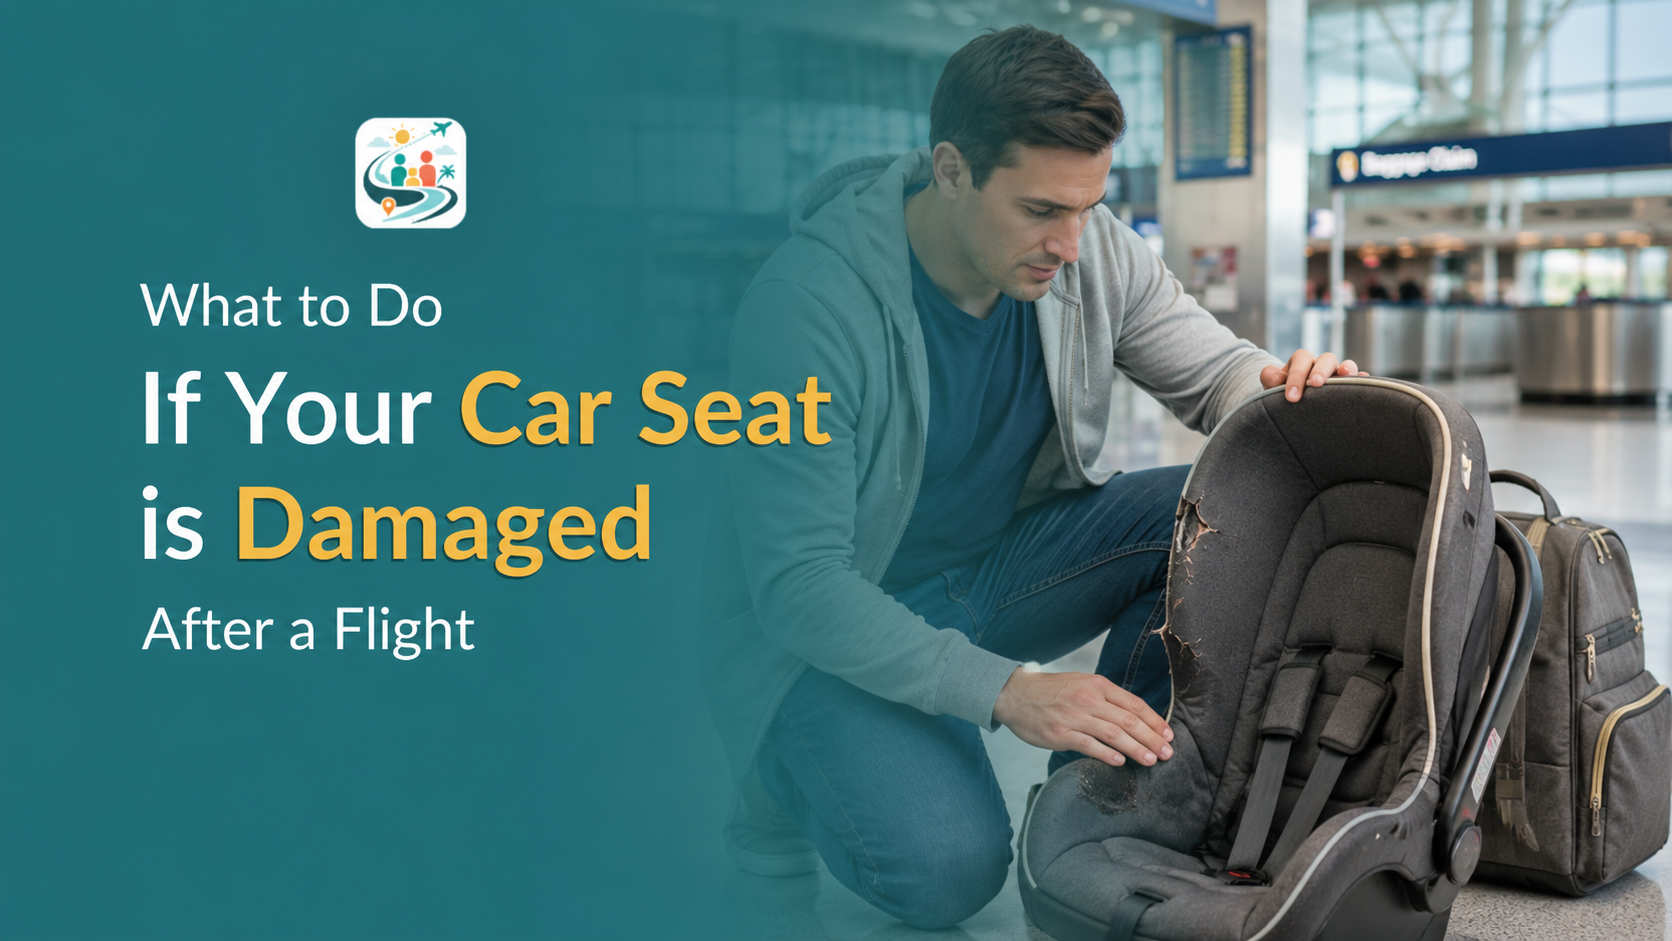
You packed the car seat, checked it, survived the flight, and now it’s coming off the conveyor belt cracked or broken. You have a tired child, a rental car reservation, and no idea whether the airline will pay for anything.
I’ve been in that exact situation. What follows is what I learned from it, and from researching airline contracts, manufacturer policies, and actual claim outcomes afterward. For the decision that comes before this one — whether to bring the seat onboard or check it — our guide to gate-checking car seats covers what to expect and how to protect the seat in transit.
🚨 What to do right now
- Don’t use a damaged seat.
- Take photos before leaving baggage claim.
- Report damage to the airline before you leave the airport.
- File your written claim within 24 hours.
- Keep every receipt and every document.
Step 1: Check whether the seat is actually safe
Before you leave the airport, inspect it closely. Small damage can still reduce crash protection. If you’re unsure whether your seat meets the standards required for air travel under normal circumstances, our guide to FAA-approved car seats for airplanes explains the label and what it confirms.
✔ Damage inspection checklist
- Cracks or splits in the plastic shell
- White stress marks on plastic
- Broken or bent belt paths
- Torn or frayed harness straps
- Broken buckle or chest clip
- Loose harness adjuster
- Missing labels or instructions
If you see any of these, don’t use the seat.
Hidden damage warning: Visible cracks are the obvious sign, but not the only one. A seat can compress its internal EPS foam liner without showing a single crack on the shell. If the seat was dropped hard or crushed under heavy bags, treat it as compromised even if it looks fine. Manufacturers don’t certify seats as safe over email. Their standard response to unknown-force impacts is: replace it. That response in writing is what you need for the claim.
Step 2: Take photos immediately
Do this before you move the seat, before you talk to anyone, before you leave the baggage area.
Photograph:
- The full seat from multiple angles
- Close-up shots of every damage point
- The airline baggage tag still attached
- The travel bag or box if it’s also damaged
- Any obvious signs of rough handling
Keep your boarding pass and baggage receipt. They confirm which airline had the seat and when.
Step 3: Report the damage before you leave the airport
This step is time-sensitive. Go to the airline’s baggage service office and file a written report. Many airlines restrict claims filed after you’ve left the terminal, though most give you at least 4 hours and some allow up to 24. Don’t count on the window. Do it now.
What to say at the baggage office:
“My child’s car seat arrived damaged. I need to file a written baggage damage report before I leave.”
Get three things before you walk away:
- A written damage report
- A claim number
- The agent’s name
If the baggage office is closed when you land, call the airline’s baggage line immediately, report by phone, and ask for the reference number. Then follow up with a written claim online within 24 hours. Document the call: time, agent name, reference number. This preserves your claim window even when no one is physically available.
Step 4: Understand what the airline actually owes you
Most articles quote the U.S. domestic liability ceiling of around $4,700 per passenger without mentioning what’s buried in the airline’s contract of carriage. Many carriers classify car seats and strollers as “limited-liability items,” which means they may pay significantly less, or nothing at all, regardless of the headline figure.
Two distinctions affect your claim more than the liability ceiling does.
Gate-checked vs. counter-checked. When you gate-check a seat, you hand it over planeside with a simple gate tag, not a full checked-baggage tag. Many airlines print “accepted as-is” language on gate tags and use it to deny damage claims. Counter-checking at the ticket desk typically gives you stronger liability coverage. If you’re traveling with a seat you can’t bring onboard, counter-checking is the safer choice, and keep the full baggage receipt. Our full guide to gate-checking car seats explains the difference between these two options before you fly.
What airlines call “excluded items.” Read your airline’s contract of carriage (it’s public, usually under “legal” or “contract of carriage” on their website). Search for “limited release items,” “fragile items,” or “special items.” Car seats sometimes appear by name. If yours does, your written damage report and manufacturer’s replacement letter become even more important for escalating the claim.
For international flights, compensation falls under the Montreal Convention, capped at approximately 1,519 SDR (roughly $2,000–$2,200 USD). The same logic applies: reporting immediately is required.
Step 5: Ask about immediate airport help
Ask the airline whether they can provide a loaner seat or approve an emergency replacement purchase. Be realistic: most U.S. carriers don’t carry loaner seats at airports, and approval for emergency purchases is rare. Ask anyway, get the refusal in writing if they say no, and move on to buying a replacement yourself.
Step 6: Get the manufacturer’s replacement recommendation in writing
Call the manufacturer’s customer support line. Tell them the seat was checked as airline baggage, arrived damaged, and describe what you found. Ask them to email you their replacement recommendation in writing.
The wording matters. A letter that says “we cannot verify structural integrity after unknown-force impact and recommend replacement” is far stronger for a claim than a verbal “yeah, replace it.” Airlines want this documentation. Some will not process a reimbursement without it.
Most major brands (Graco, Chicco, Britax, UPPAbaby, Nuna) have customer support lines that can issue this by email within a day or two. That turnaround is a problem if you need to drive from the airport today, which is why you buy the replacement first and get the letter afterward for the claim.
Step 7: Decide how to get a seat today
On rental seats: before you put your child in one, check the expiration date (usually stamped on the underside of the shell), inspect the harness, and look for cracks or missing parts. A rental seat with an unknown history can be a worse option than driving differently. If you’re renting a car, some rental companies will confirm the seat’s age if you ask directly at the counter.
If you need to buy a replacement and aren’t sure which models fit standard aircraft seat widths, our guide to FAA-approved car seats for airplanes lists models that work in economy rows — useful if you’re flying home with the new seat.
Step 8: File your airline claim quickly
Most airlines set a claim deadline of 24 hours for domestic flights and 7 days for international. File as soon as possible.
Keep the damaged seat until the claim is resolved. Discarding it before the airline inspects it is one of the most common reasons claims get denied.
Timeline
Step 9: If the airline denies your claim
A denial isn’t necessarily the end. In order, try these:
- Reply in writing with your full documentation set, including the manufacturer’s letter. Ask for reconsideration and request the specific policy clause they’re citing to deny you.
- File a DOT complaint at airconsumer.dot.gov. Airlines pay attention to DOT complaints in ways they don’t always pay attention to individual emails.
- Check your credit card’s baggage protection benefit. This is separate from travel insurance. Some cards (Amex Platinum, Chase Sapphire Reserve, and others) cover damaged checked baggage up to a set limit. Read the benefit guide carefully — some exclude “items used in connection with a child” or have a 20-day filing window. If you’re covered, file directly with the card benefit administrator, not through the airline.
- File with travel insurance if you have a policy that covers baggage damage. Confirm whether it’s primary or secondary coverage relative to the airline claim.
- Small claims court is a real option for amounts under your state’s threshold (typically $5,000–$10,000). Airlines settle a meaningful proportion of small claims rather than appear.
Step 10: Check credit card and travel insurance coverage
Before you assume you’re covered, read the fine print. Several major cards’ baggage protection benefits exclude car seats specifically or exclude “items for use by minors.” The filing window is usually 20–30 days from the incident, not 90. If you have a card with travel benefits, pull the benefit guide now, while the claim is fresh.
How to prevent this on future flights
✔ Future travel checklist
- Use the seat onboard if your child is under 40 lb — it’s the safest option for the child and eliminates the damage risk entirely. Our guide to installing a car seat on an airplane covers the step-by-step.
- Counter-check the seat at the ticket desk rather than gate-checking; you get a full baggage tag and stronger liability coverage
- Use a padded car seat travel bag rated for air travel
- Photograph the seat before you hand it over
- Label the seat with your name, phone, and flight number
- Read your airline’s contract of carriage for how they classify car seats before you fly
- If you’re traveling with a convertible car seat, measure the width against your aircraft seat before you book — a seat that doesn’t fit onboard has to be checked
Frequently asked questions
Cosmetic scuffs from normal handling are usually not a safety concern and often aren’t claimable either. Cracks, stress marks, broken hardware, or any damage to the harness system are different — those affect crash performance and should be treated as a safety failure.
Some do. Policies vary significantly by carrier and by how the seat was checked. Documentation is what determines the outcome more than the airline’s general policy.
Get the specific policy clause in writing. Then submit your manufacturer’s letter, DOT complaint, and credit card claim in parallel. Denials based on excluded-item clauses are sometimes reversed when the full documentation set is in front of a supervisor.
Gate-checking is more convenient but typically gives you weaker liability protection if the seat is damaged. Counter-checking is the better choice if damage coverage matters to you. See our full guide to gate-checking car seats for what to expect at each stage.
If the seat was exposed to forces you can’t verify (a drop, heavy compression, rough handling), most manufacturers say replace it regardless of visible damage. You can’t assess internal foam compression by looking at the shell.
Using it onboard in its own purchased seat eliminates both the safety risk and the damage risk. Our complete guide to car seats on airplanes covers the full decision — choosing a seat, onboard installation, and when gate-checking makes sense.


